Since my last post I've been working more with Flash and I've figured out how to track the coordinates of a marker and print it out (to help me to code what Flash should do when a certain marker is at a certain coordinate).
I've got my perspex sheet, it's 4ft x 2ft which is a bit longer than I'd planned - 4ft is a bit of a stretch (for most people anyway!) so I might use the end of the table for something else...
I met with Annette to show her what I've done so far, she also helped me a lot with the thesis and I left the meeting feeling a lot less stressed! I also got some more ideas from both her and Colm which have given me a lot to think about.
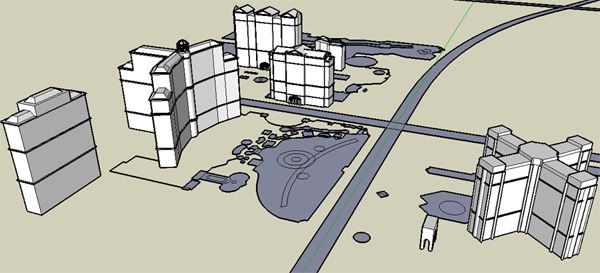
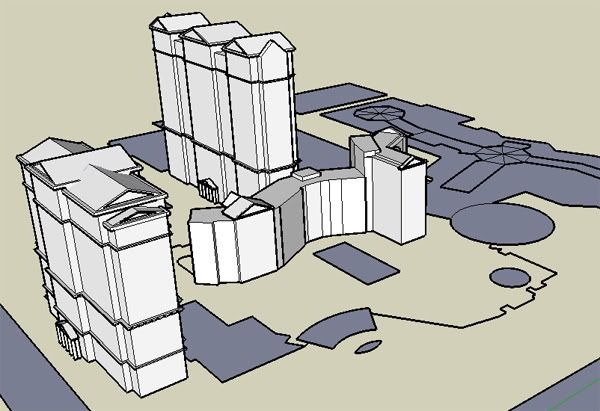
For the thesis I made a SketchUp model of what the final table should look like (click for a bigger pic).
The triangular marker is what the user moves to control a Flash animation of the road - as they move forwards or backwards, so does the animation. The buildings and small roads are made from card. For more information on a building, the user rotates the triangle/arrow head to point at the building's target. They can use the square markers to choose the type of information they want to view (video, pics, text) and the circular markers to control the information (play, stop, next pic, previous page, restart, etc). At the moment I'm trying to figure out what kind of frame the table needs and how to make it. Hopefully when it's finished it'll look and work like the model above :)
Since my last update I've been learning how to use ReacTIVision with Flash. It's been hard because there's not as much information online to help as I'd like but I (think) I've finally figured it out - with a lot of help from the forums I've found.I downloaded the sample Flash client on ReacTIVision's site to get an idea of how to integrate the webcam and ReacTIVision with Flash. It's more complicated than I thought. I had to download (and figure out how to use) Flosc which acts as a gateway for Flash to talk with other software. This allowed me to run the Flash client which represents a fiducial symbol as a blue block on screen.
A screenshot of what this looks like: The two terminals run java and jar files which flosc and the flash demo need for this to work. Under the terminals is the flosc client. On the top right is the flash demo with blue blocks showing the location of the fiducials that ReacTIVision (bottom right) is picking up.
I'm still having a couple of problems with this. More often than not, the flash demo's terminal throws an exception which stops the flash from working. Other times, it simply stops working with no explanation! I'm going to look into this more to see if I can figure it out.
I'm also having some problems when I position the camera under a sheet of plastic and use that as a table to move the markers around on. Glare and reflections are sometimes blocking the camera's view of the markers. I'm going to try to get my hands on some frosted plastic or glass (or frost my own glass!) which will hopefully prevent reflections.
On Monday I'll be in Dublin and going shopping for some materials - the sheet of plastic/glass being the most important. I'll also need some card to make the outline of the map (and maybe models of the buildings if I think I'll have time).
I ended up using a different method than I had planned. I'm still using the same software, Swift 3D, but in a different way. Originally, I exported the model using Papervision3D, which resulted in a great interactive 3D flash file but because the model was generated after it was executed there was no way to add any information on top of the map.
Instead, I animated a walkthrough of the model in Swift 3D and exported a swft file to flash. This way, each frame of the animation has its own frame on the timeline in Flash and I can see the model on the stage.
I'm still looking into the original idea but I think this might end up being the best option.
Below is a video of the walkthrough (it's a lot less blurry in real life!). I want to go back to the map soon to add some more detail and make it look more realistic.
For the rest of the week I'll be working on tracking a marker's X and Y coordinates in Flash using reacTIVision and applying this to the model. I'll also be busy working on the next draft of the thesis for the end of the week.
I've finally finished all of the map's major structures. Last week I set myself a deadline to finish the map by the end of the week so I could get on with the next part of the project. It wasn't easy considering it had taken weeks to get to that point (with 14 buildings left to do) but after a very long week it's finally done.
For now, I'm going to go back over all of the buildings and add in the last pieces of detail (windows, etc.) and then some colour!After that I'll be exporting it to Flash (in the same way I talked about before) and setting up the webcam and ReacTIVision in Flash.
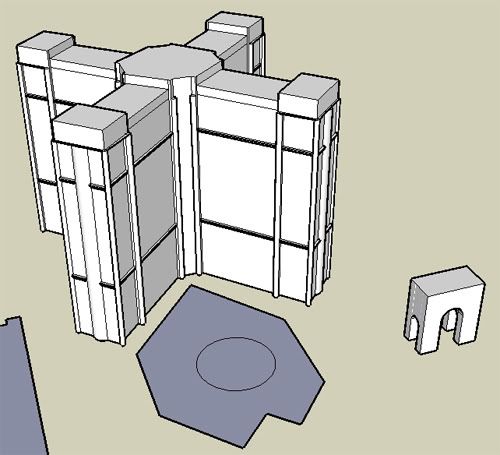
Here are some screenshots and comparisons of the newest models:
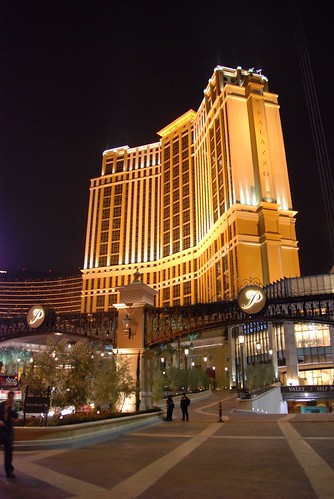
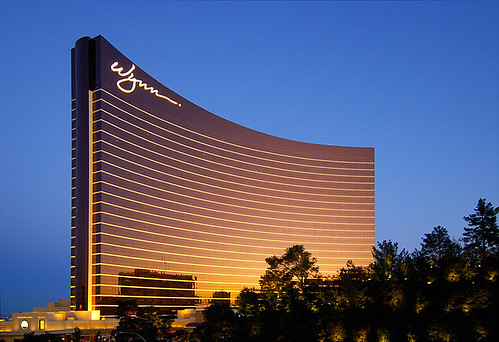
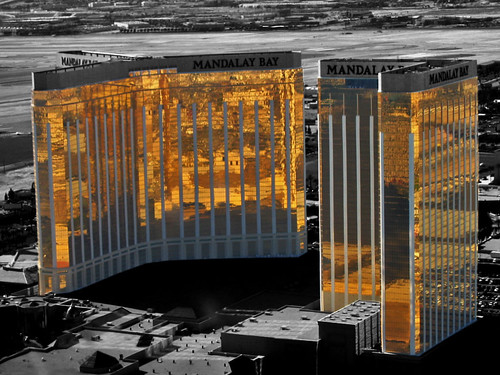
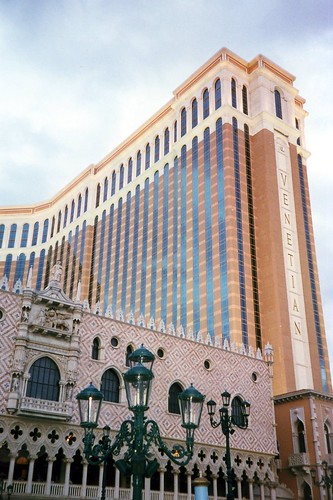
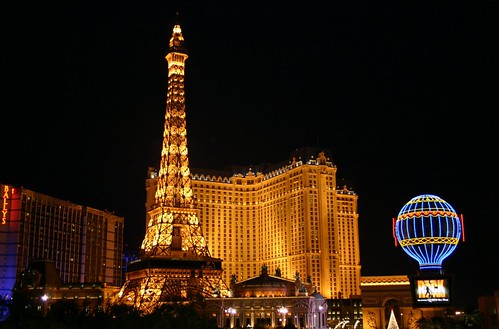
The entire map now: Palazzo (part of the Venetian): Image by this user on Flickr.
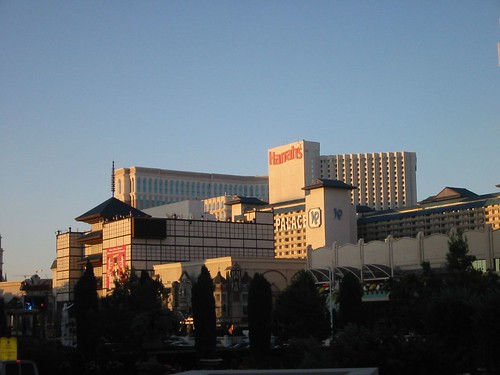
Venetian: Photo by this user on Flickr. I've also finished Bally's, Treasure Island and Flamingo which aren't pictured in as much detail above. The Palazzo extension to the Venetian has also been done since the first screenshot was taken.
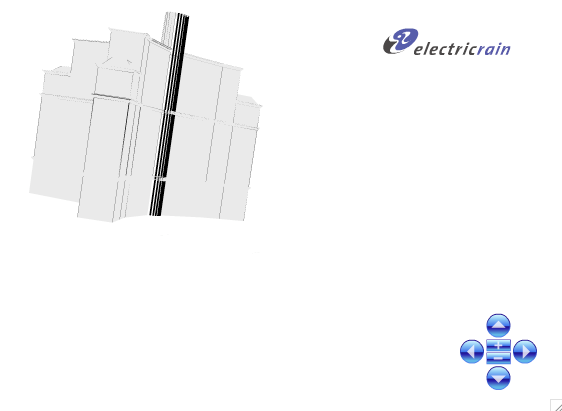
Last week, I managed to export a SketchUp model into Flash! This was an important step so I'm glad it worked eventually (with a relatively simple model).I used a piece of 3D modeling software called Swift3D from Electric Rain. Although I didn't use it for any modeling, it allowed me to import a 3DS file (which I exported from SketchUp Pro) into Swift3D. I could then export this file from Swift3D with Papervision3D which resulted in a Flash file.
Swift3D environment: In Flash, I could rotate the 3D model by clicking and dragging (as I'm used to in SketchUp), using the mouse wheel or using the controls which Papervision3D placed in the bottom right corner.
Model in Flash: There were a couple of minor problems:
A curved surface disappeared
Some lines disappeared (this should be solved when more detail and colour is added to the SketchUp model before exporting)
My first few attempts at opening the 3DS model in Swift3D were unsucessful because the model was too large (because I'm modeling the buildings to scale). This was solved by reducing the scale. As modeling to scale helps me to keep the buildings in proportion, I'll continue to use the same scale until I have to export the model when I'll shrink it down to fit in Swift3D.
Hopefully this process will also work for a much more complicated and larger model, which the finished one will be!
 The triangular marker is what the user moves to control a Flash animation of the road - as they move forwards or backwards, so does the animation. The buildings and small roads are made from card. For more information on a building, the user rotates the triangle/arrow head to point at the building's target. They can use the square markers to choose the type of information they want to view (video, pics, text) and the circular markers to control the information (play, stop, next pic, previous page, restart, etc).